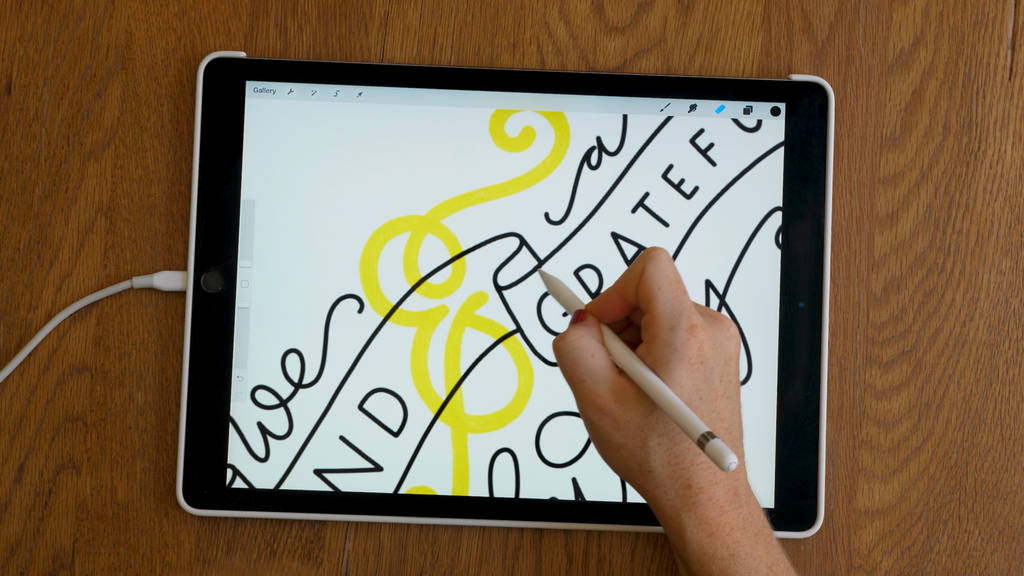
Procreate
In this lesson I’m going to walk you through my favorite app of all time, Procreate. I use it pretty much exclusively for all my lettering and doodling. I’m going to show you all the features that I use and why it's such an incredibly powerful tool for me. So click play and join me in the video below.
Tips & Tricks:
- To get started, click the plus sign in the upper right-hand corner and choose your canvas size. I like working in a 10" x 10" square with 300 dpi because it's perfect for Instagram and it works really well when I bring it into Adobe Illustrator to vectorize it later.
-
Once you have your canvas, check out your tools in the upper right side of the screen. You have your brushes, smudge tool, eraser, layers, and color palettes. I loaded in a bunch of my favorite color palettes from the Procreate forum. You can also create your own!
-
There are a lot of incredible brushes that come standard in the Procreate app. You can import additional brushes from other artists—check out the Procreate forum or Creative Market. I created these two brushes that you can use as well.
-
Sketch out your design with a pencil brush first. Once you have your sketch, create a new layer, lower the opacity of the original layer, and use it like a light table to work on your design more. To finish it up, switch from the pencil layer to mono-weight brush and finalize your design.
- Use the streamline feature to smooth out your lines and make them more consistent. The eraser can be any brush that you want it to be, so you can also use it to fine-tune as you go.
- We'll talk about vectorizing your work in more detail in a future lesson, but for now, remember that you’ll want everything to be in black and white. For colored elements, make sure to put those on a separate layer. When you're ready to move on to this step, remember to airdrop your creation to your computer one layer at a time.

As you can probably tell, I absolutely love this app—and I'm sure you will too. If the information in this video was a little overwhelming, that's ok! I wanted to show you my favorite features that I use every day and let you know there are options within Procreate for pretty much anything you want to do. Now it's up to you to get familiar with this app and play around in it. Explore the features shared in the video. Learn the shortcuts and just experiment! To help get you started, I've listed some of my most-used shortcuts below. You can also find all these and more in the workbook I created for this class.
Procreate Shortcuts:
-
Two-finger tap: undo
-
Two-finger hold: continuous undo
-
Three-finger tap: redo
-
Three-finger hold: continuous redo
-
Three-finger swipe down: copy & paste menu
-
Four-finger tap: fullscreen
-
Three-finger scrub: clear layer
-
Pinch: zoom in and out
-
Quickline: draw and hold until snaps
-
Pinch together: merge layers
Layer Gestures:
-
Two-finger swipe left to right: alpha lock (how you can color just inside that layer). Swipe right again to unlock it
-
Two-finger hold: select layer contents
-
Tap and hold on any color on your canvas to select that color (if this doesn't work, check your eyedropper settings under “advanced gesture controls”).
-
Drag color from the upper right circle to canvas to “fill” with color.
-
If you use a two-finger tap on a layer in the layer menu, it will bring up the opacity slider.
It's time to get to work. Take some time to explore the Procreate app and the tips in the workbook. Once you feel more comfortable with all the features we discussed, meet me in the next lesson to talk more about vectorizing your work. See you there!
ASSIGNMENT: Explore the Procreate app. Create a canvas, fine-tune your doodle, and practice the shortcuts I provided.


